![]()
![]()
![]()
![]()
![]()
![]()
![]()
![]()
Restoration page 2
August 2
Today I decided to tackle the flywheel key and try to remove the flywheel
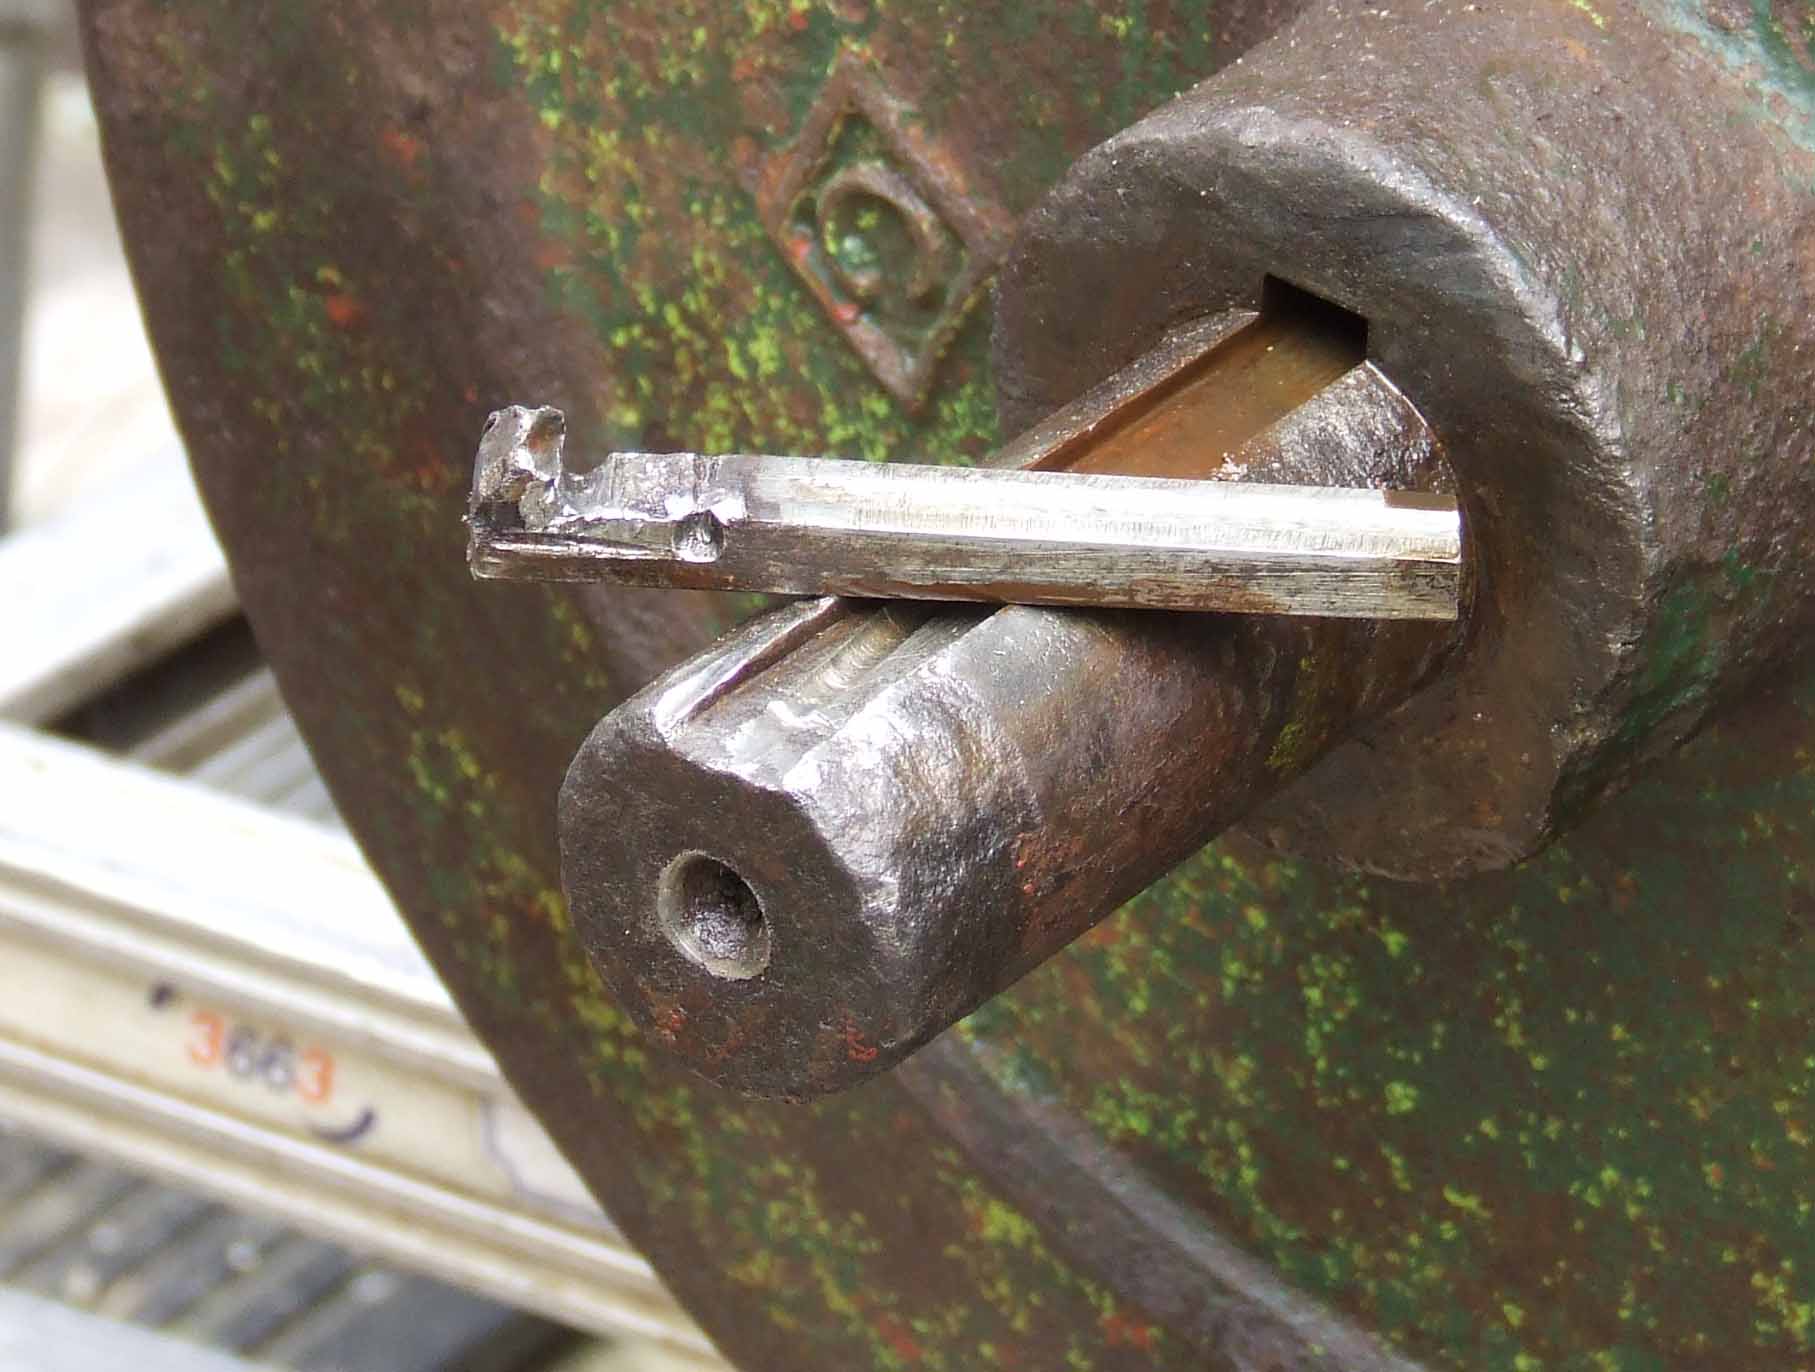
As you can see from the picture the key came out
When I removed the pulley last week I knocked the flywheel back onto the shaft by about 2 millimetres to break the rust seal that always holds these things in place , and every day since I have given the shaft and keyway a squirt of WD40
I filed a flat surface on the inside of the key so I could get a good contact with my chisel and started to chisel away with my trusty plugging chisel .
Knocking the chisel in sideways between the wheel and the end of the key holding it flat so that the wedge of the chisel forced out the key
This type of chisel was not made for this purpose it is made for bricklayers so they can knock mortar out of brick joints but it worked wonders in this case
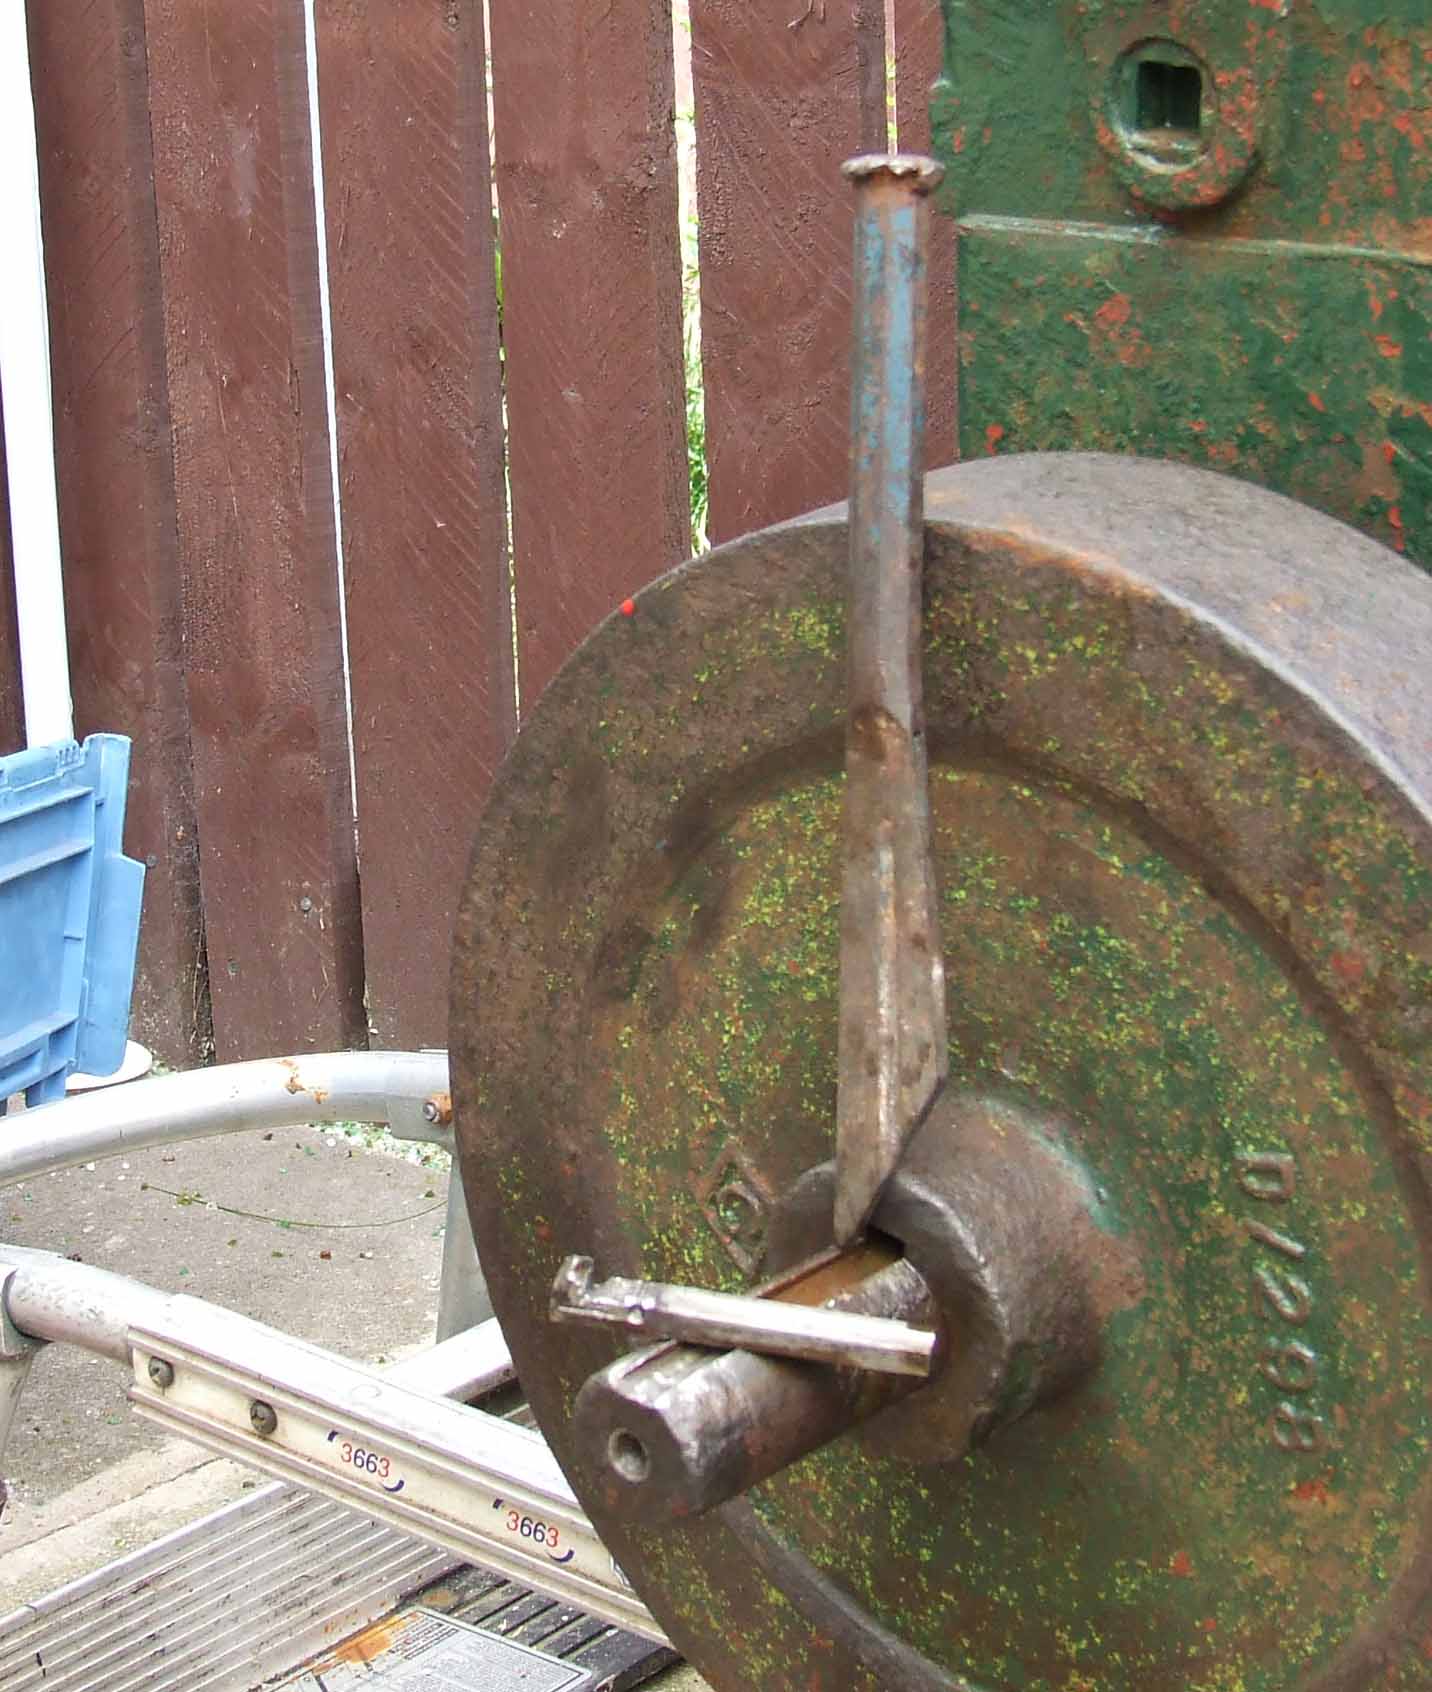
Once the key was out you would think that the flywheel would come of fairly easy but you would be wrong
I had to strip the other bits from the engine and with the assistance of my Son 10 year old Stephen-Niall balance the engine on its crankshaft end .

A few whacks with a block of wood and a large hammer on either side of the wheel and it eventually dropped of
August 4
Taking of the cylinder head was the next task, apart from finding that the previous restorer had not fitted washers to any of the head bolts it all went to plan
once the head was of I could start to remove all the debris that was in the water channels
 Loads of small stones a spark plug and lots of sand was what was in the
hopper and I dont think I can use that head gasket again
Loads of small stones a spark plug and lots of sand was what was in the
hopper and I dont think I can use that head gasket again
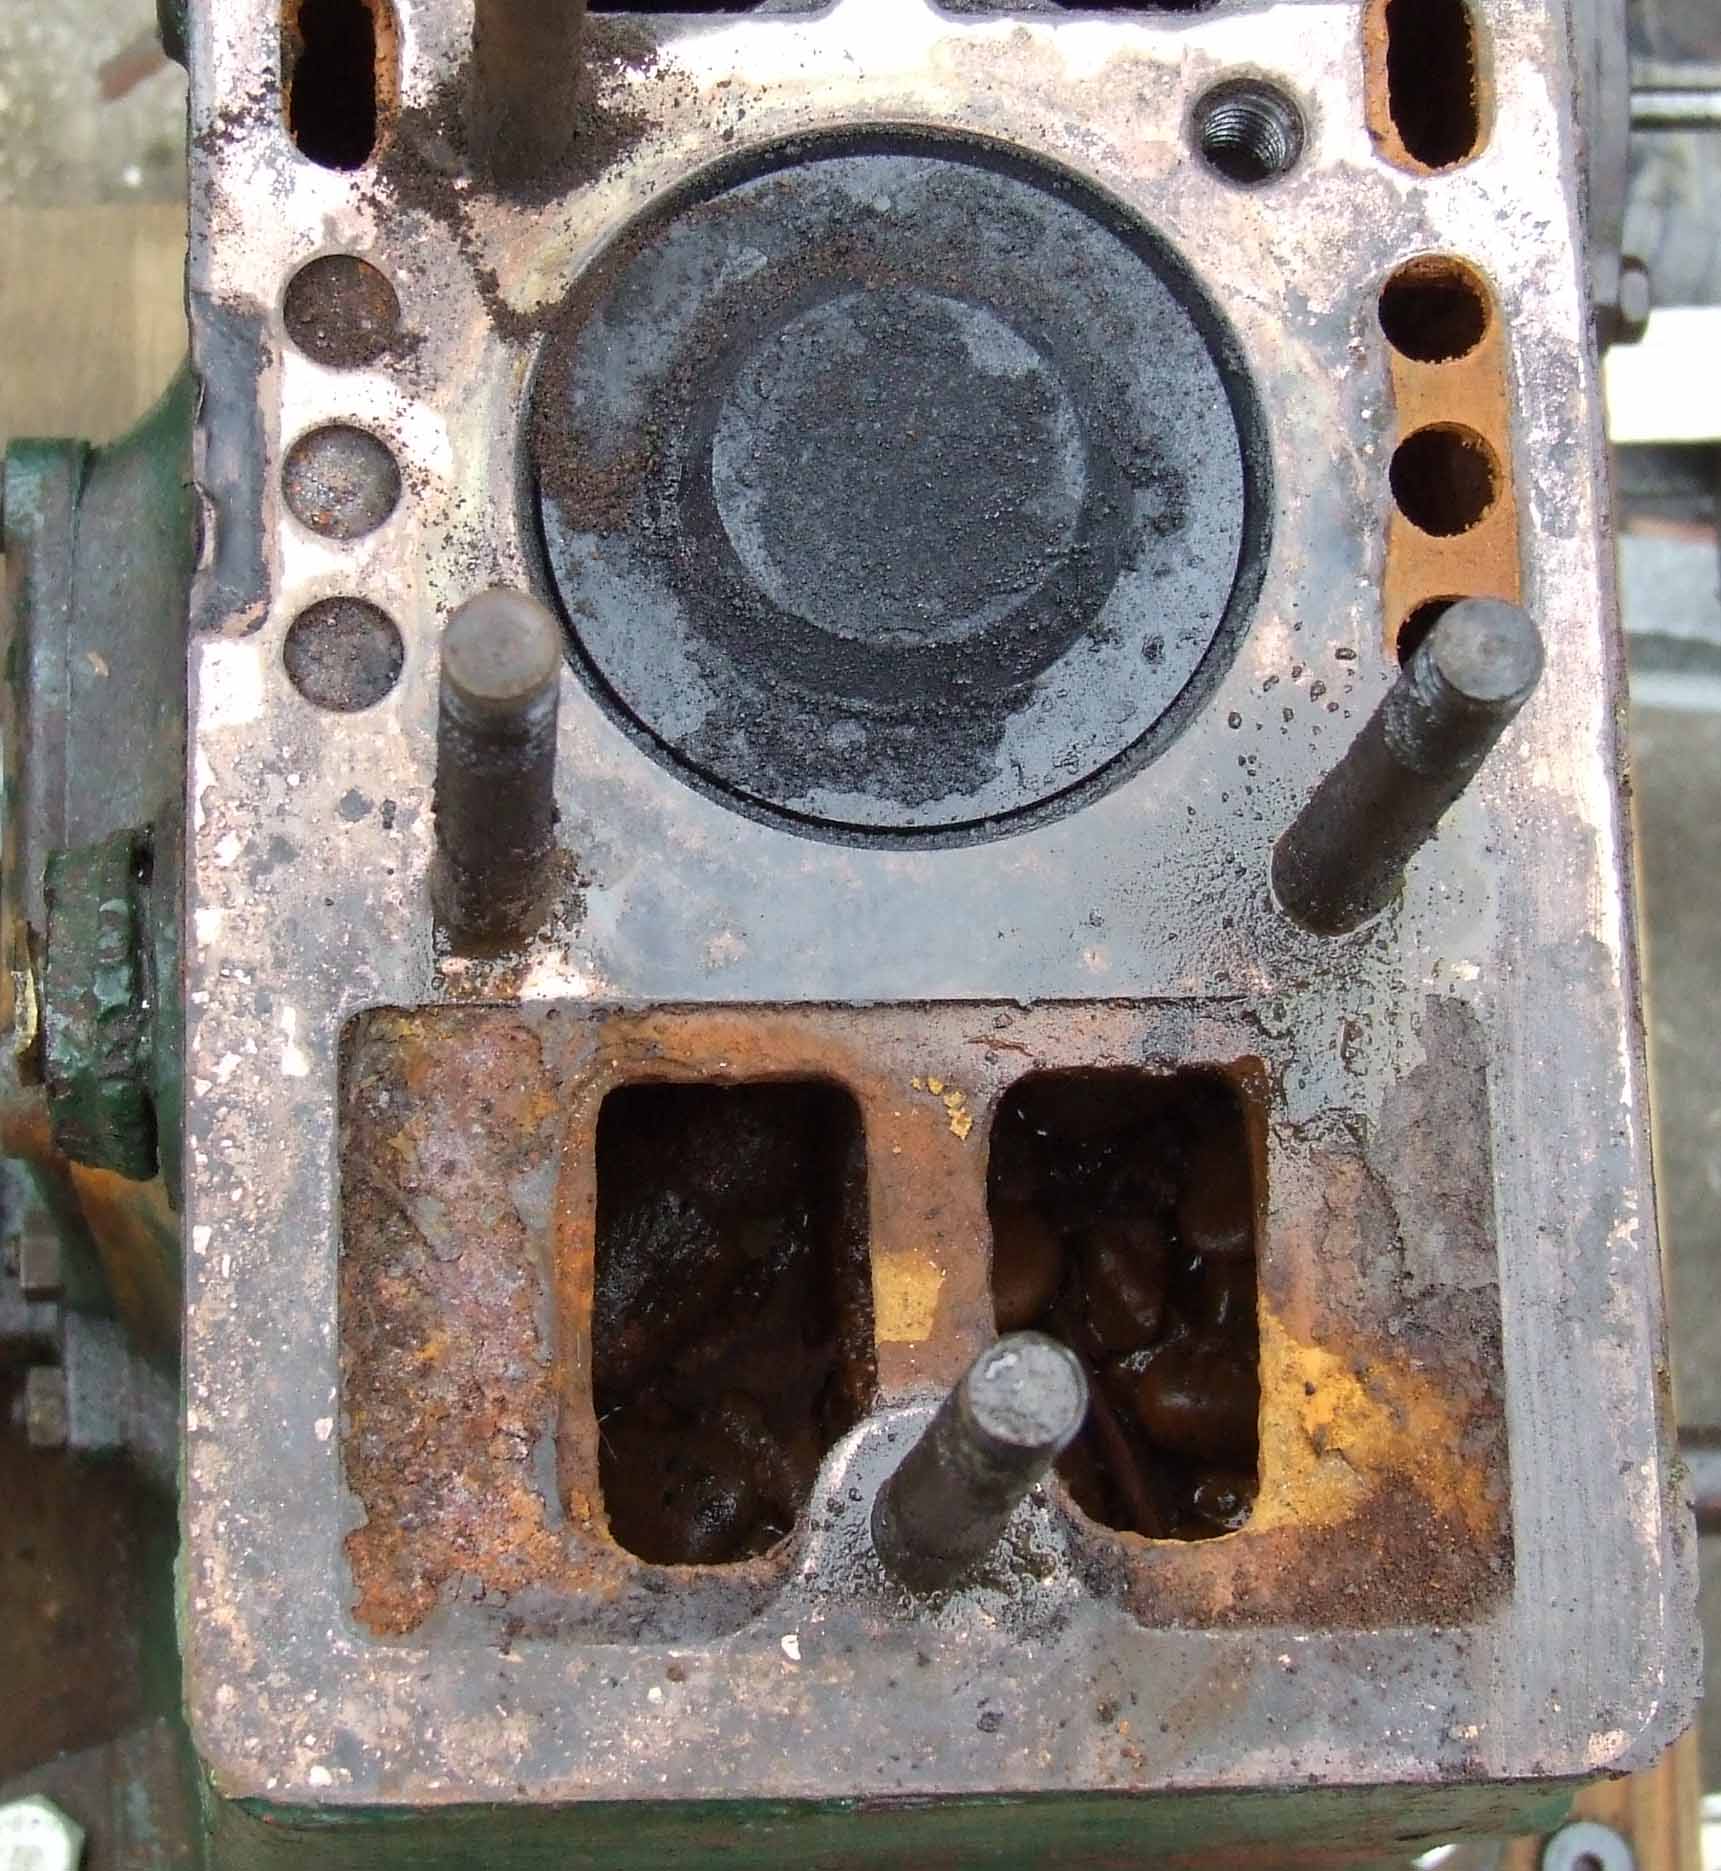 The bore although not shown in this pic is in very good shape with no marks or
pitting so that is a bonus , all that is needed here is a good scrape and polish
The bore although not shown in this pic is in very good shape with no marks or
pitting so that is a bonus , all that is needed here is a good scrape and polish
The cylinder head is in very good shape so I will regrind the valves and re assemble it with a new gasket .
August 20
The cylinder head was quite badly coked up and the valves needed some serious grinding in to get a satisfactory seal , unfortunately I have lost the photos because I have changed to a new PC and I deleted them out of my camera by mistake .
The only picture I managed to find was this
 Its amazing what you can do with a tin of nitromors and a wire brush on a 4
inch grinder
Its amazing what you can do with a tin of nitromors and a wire brush on a 4
inch grinder
The cylinder head is now painted with two coats of gloss and will recieve a third coat when it is bolted back on the crankcase
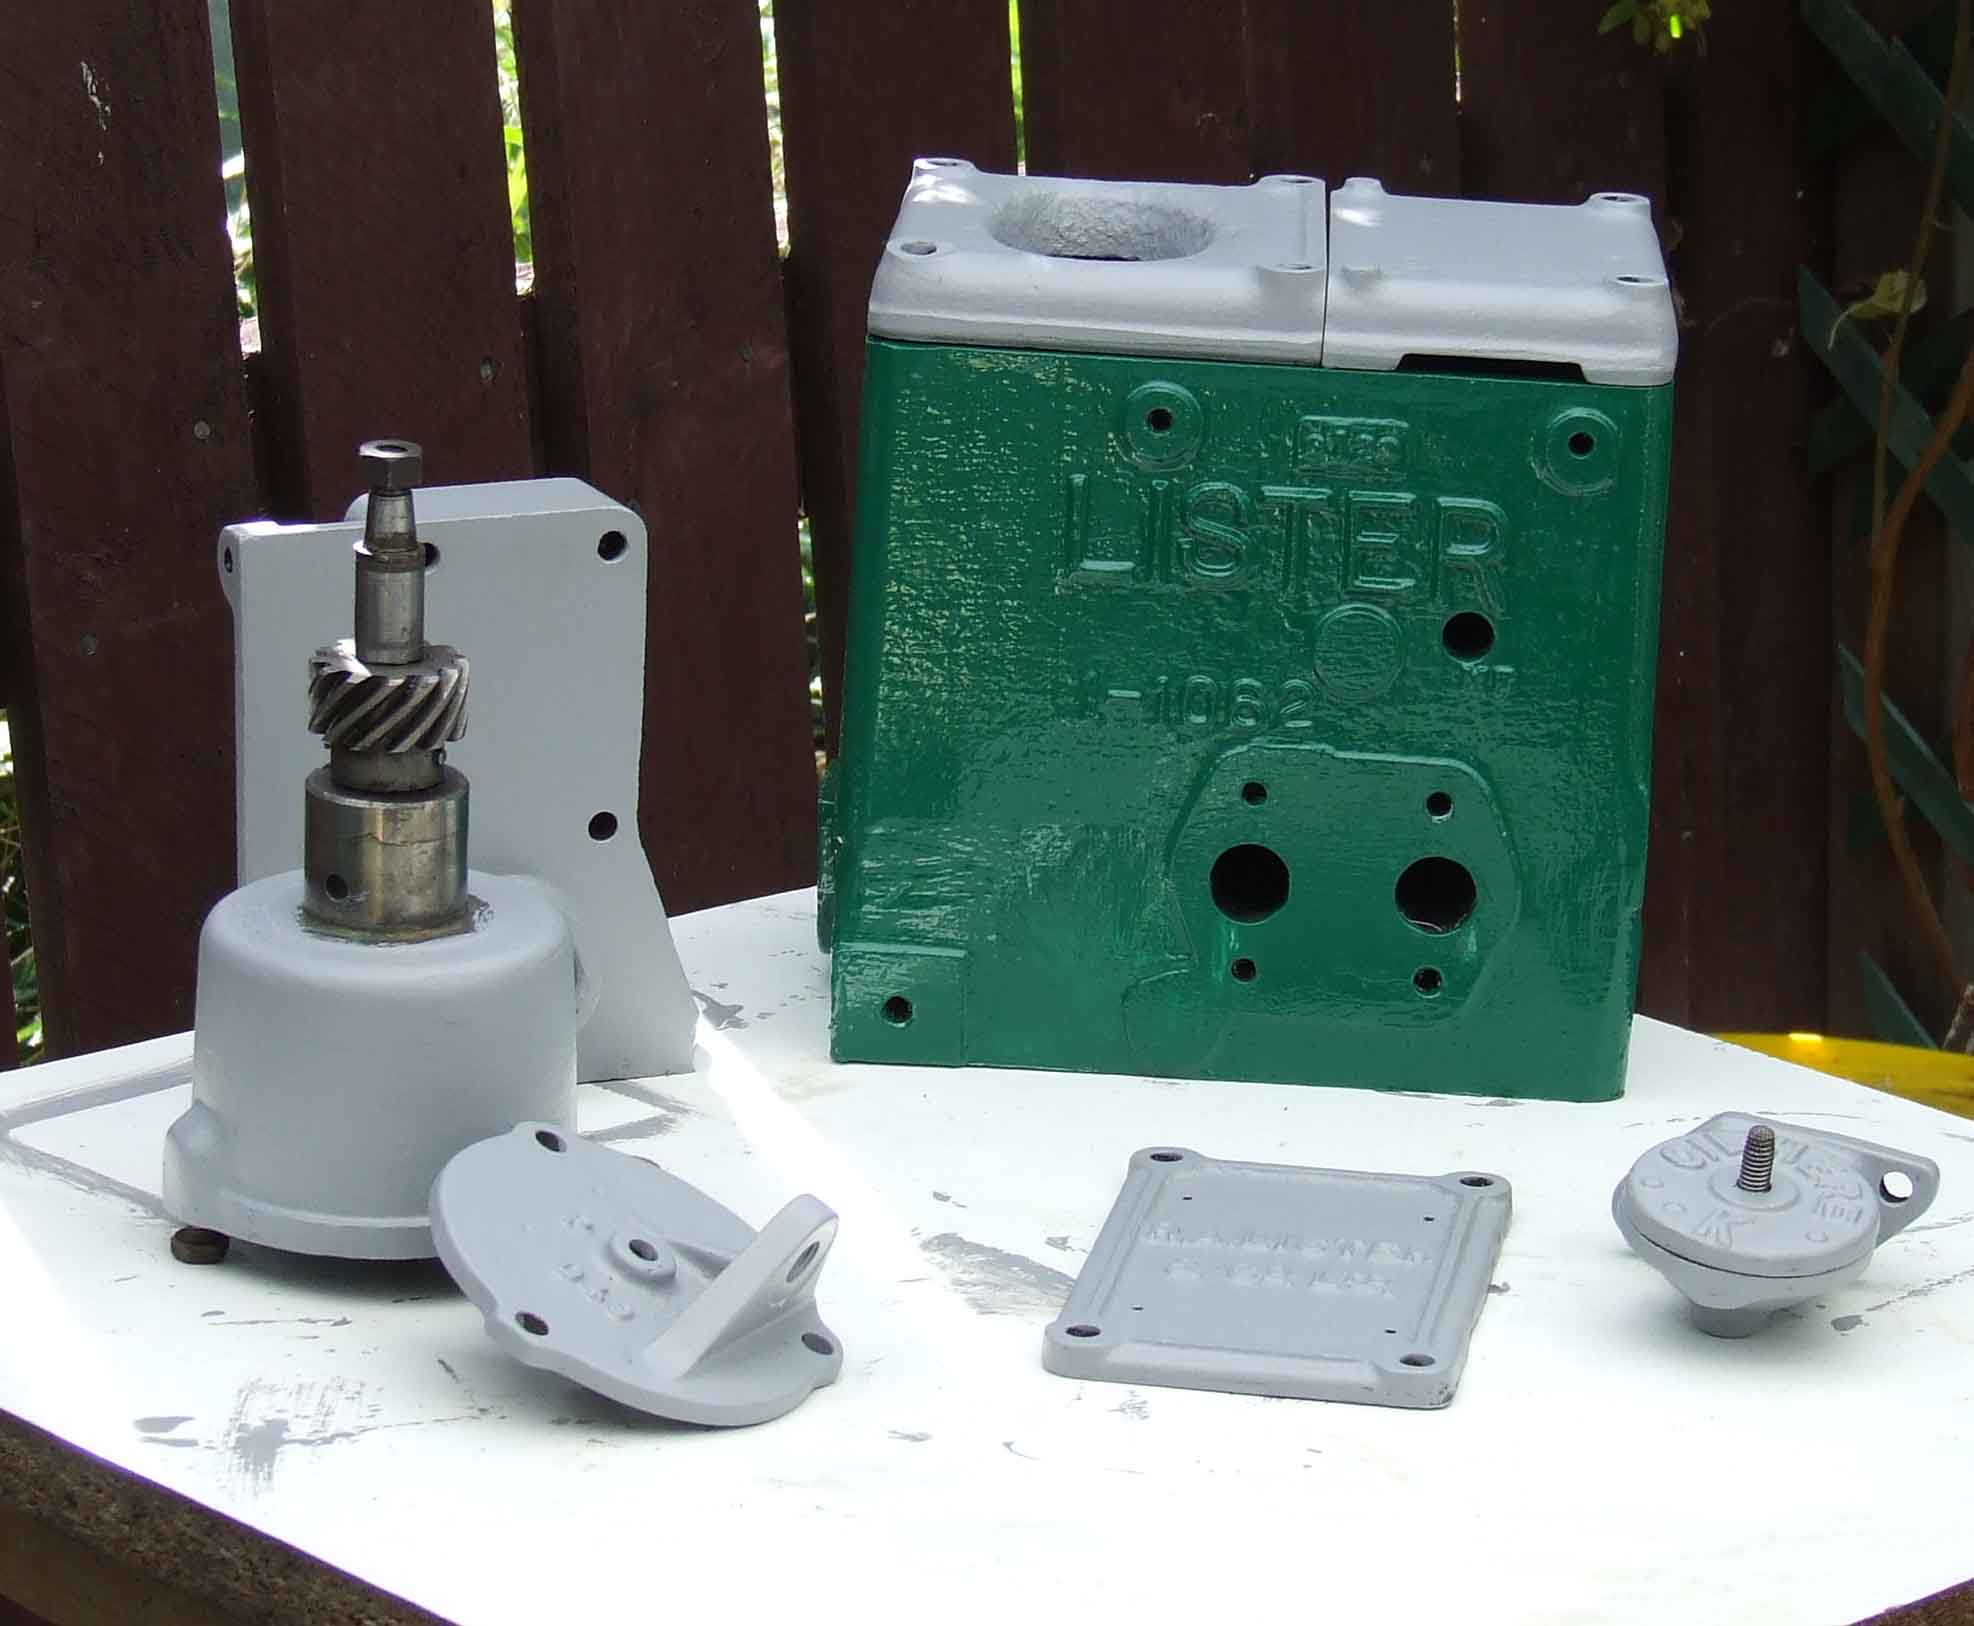 As you can see I have also started to paint some of the smaller pieces , the
tank and flywheel have also been painted and they are stored somewhere safe
until I start to reassemble the engine .
As you can see I have also started to paint some of the smaller pieces , the
tank and flywheel have also been painted and they are stored somewhere safe
until I start to reassemble the engine .
And before you start to Email me and tell me it is not mid brunswick green I know .
I dont realy like that shade of green and all engines look the same at the rallys I have attended so I went for a bit of a darker shade
It is always best when doing a restoration of this type to paint your fuel tank first , that way when you come to pour petrol in it you can be sure that the paint has shad plenty of time to cure properly .
August 22
Spent some time today cleaning and painting

All that is left to do now is build a trolley , strip and paint the crankcase and then the re build can be started
September 10
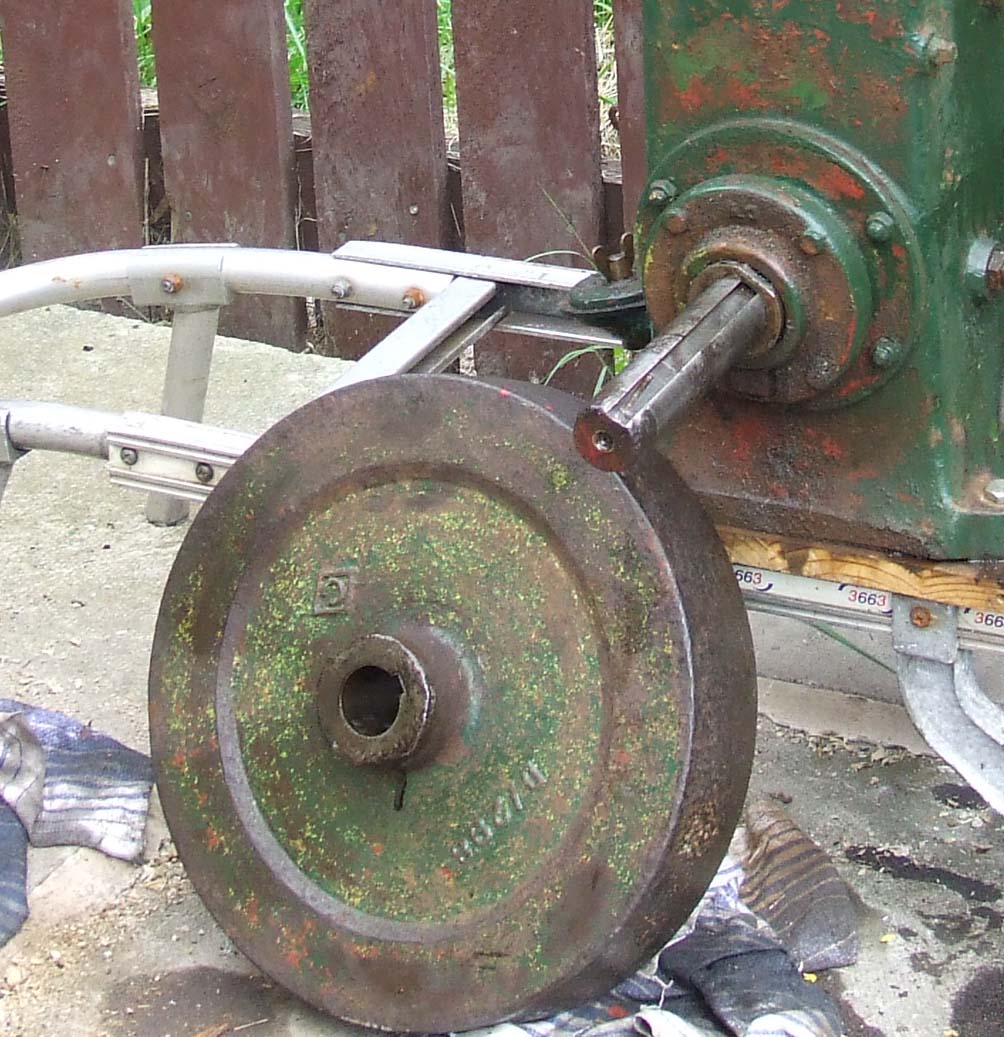
I have had a busy couple of weeks and progress has been fast managed to buy some timber and build a trolley

But a crack appeared in one of the wheels you can just make it out in the the picture above
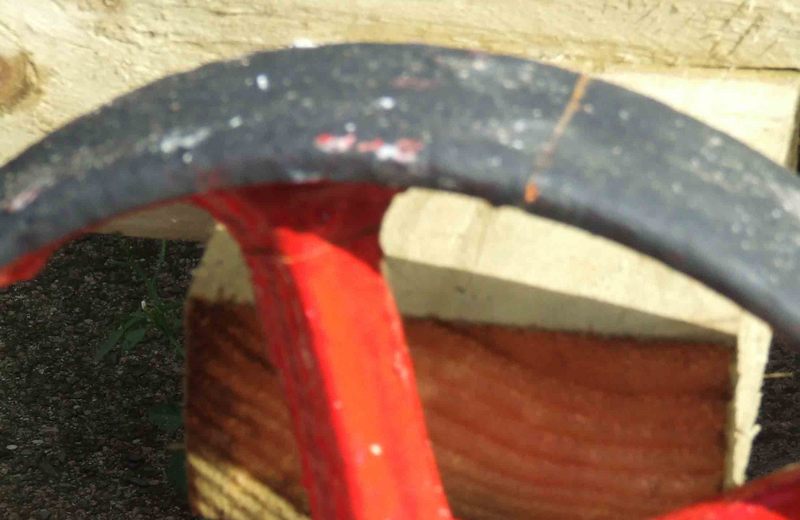
This crack then spread across the front of the wheel and rendered it useless
So I had to use some other wheels and because the wheels that I had are smaller than the cast wheels I had to make another trolley to fit
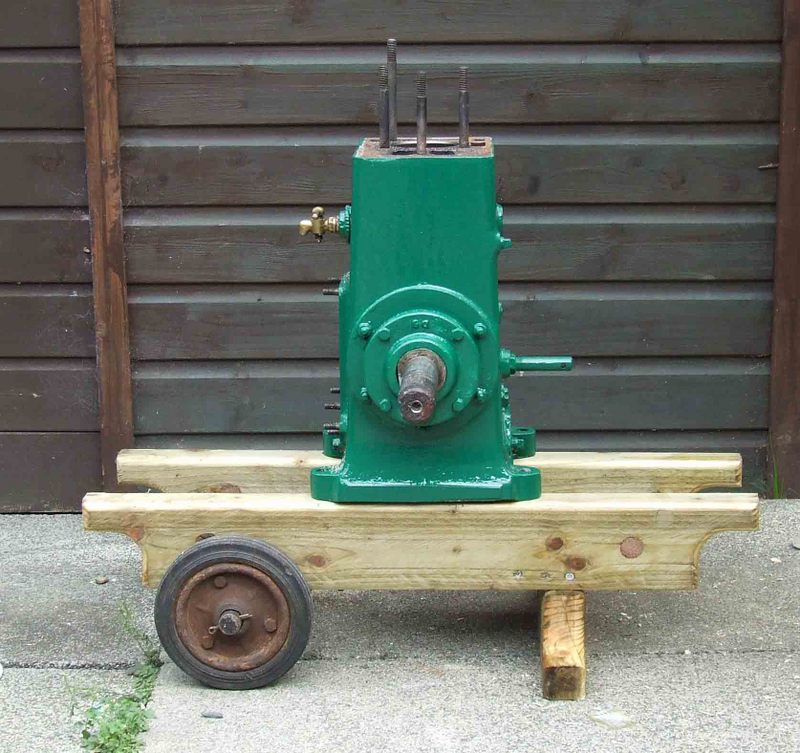
A smaller trolley to fit smaller wheels
The timber is 4 inch by 2 inch tannalised from B+Q £5.96p for 3 metres so it is not very expensive and when you sand it and oil it with furniture oil it looks ok
Once the trolley was oiled and ready the engine was securely bolted to it with six inch bolts and was then assembled
And here is the final product
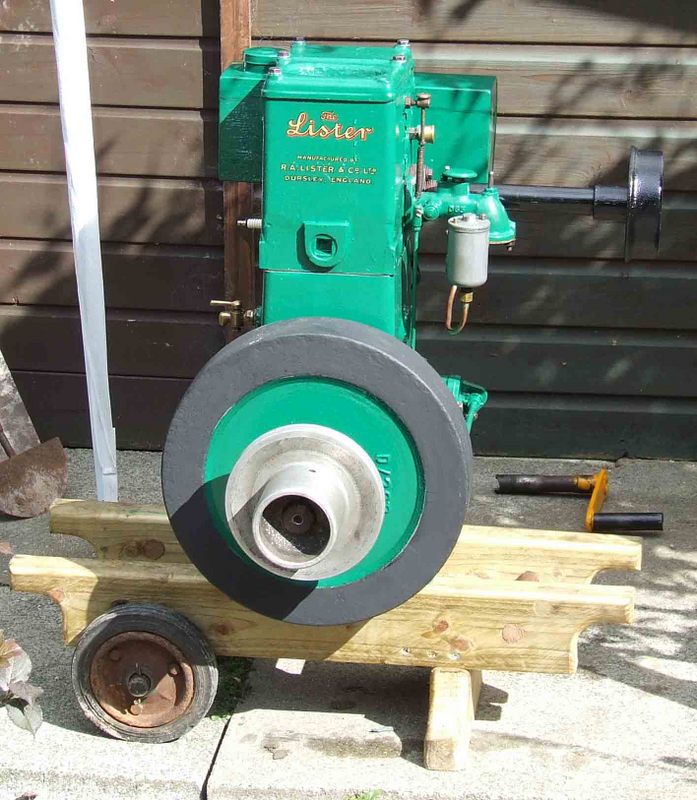
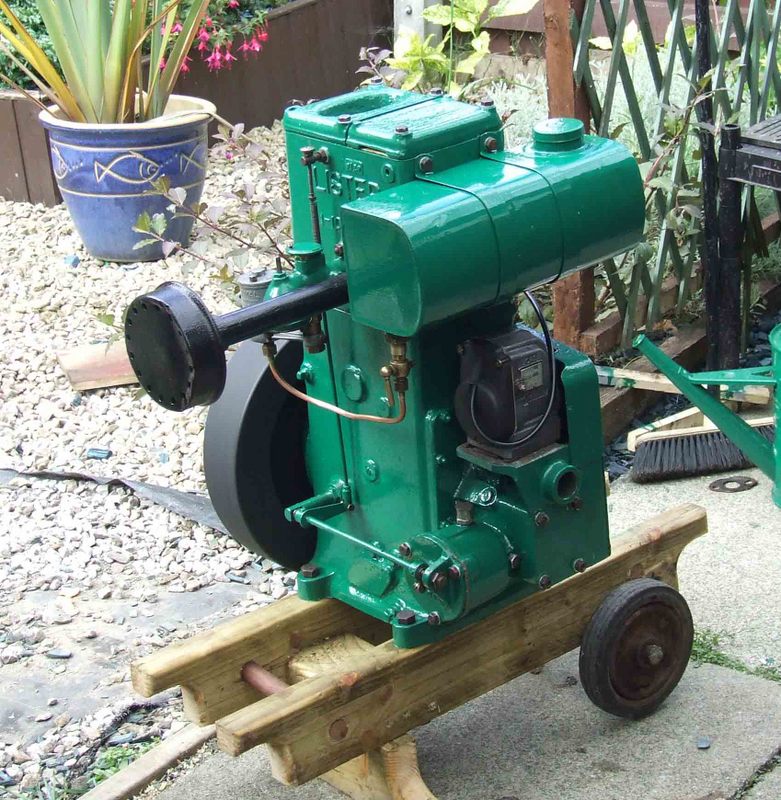
After filling the fuel tank and the water hopper the engine fired into life on the second turn
I need to de rust those wheels and paint them but I am very pleased with the outcome
Post your comments here
The next task is to restore my Lister pump and get myself of to some rallys